It’s a common question: can you play Nintendo Switch games on your laptop? The short answer is yes, but it requires a bit of setup. In this article, we’ll walk you through the process of connecting your Switch to your laptop without the need for a capture card.
First, you’ll need to purchase a special cable that connects the HDMI port on your Switch to the USB-C or Thunderbolt 3 port on your laptop.
- Download the latest version of the Nintendo Switch emulator, yuzu on your PC
- Connect your Nintendo Switch console to the PC using a USB Type-C cable
- Launch the Yuzu emulator on your PC and click File > Open Yuzu Folder
- In the yuzu folder, open the shared_fonts folder and copy all the fonts from there
- Paste the copied fonts in C:\Windows\Fonts (or any other location where Windows keeps its default font files)
- 6 Reboot your PC for the changes to take effect
- Now launch the Yuzu emulator again and click View > Configure Graphics Settings
- 8 Select Resolution Scale: 100% (Native) and check Enable Custom Resolution then click the OK button
Playing Nintendo Switch on a laptop without capturing card
Can I Connect the Switch to the Pc Without a Capture Card?
Yes, you can connect your Nintendo Switch to a PC without a capture card. All you need is a USB-C cable and the appropriate drivers installed on your computer. Once you have everything set up, you’ll be able to play your favorite Switch games right on your PC.
Here’s what you need to know:
First, make sure that your PC has all the necessary drivers installed for the Switch. You can find these drivers on Nintendo’s website.
Next, connect your Switch to your PC using a USB-C cable. Once it’s connected, open up the NVIDIA Control Panel on your computer. Under “Manage 3D settings,” select “Global Settings.”
Finally, under ” Preferred graphics processor,” select “High-performance NVIDIA processor.” Save your changes and restart your computer. That’s it!
Now you’re ready to enjoy all your favorite Switch games on your PC.
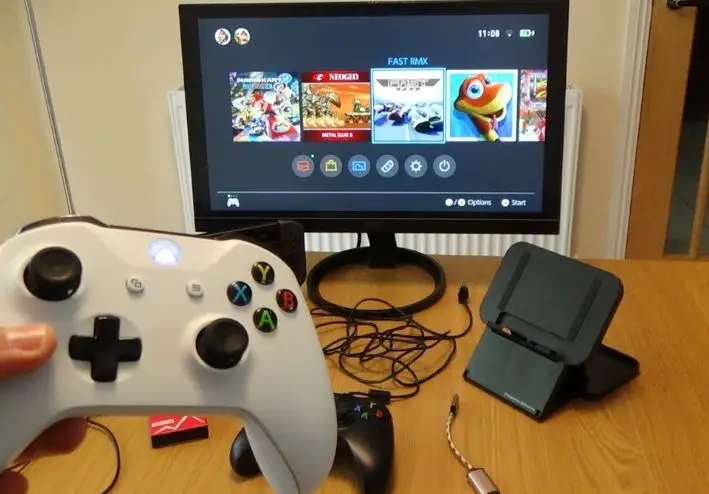
Can You Use a Laptop As a Monitor for Switch?
Yes, it is possible to use a laptop as a monitor for the Nintendo Switch. This can be done by connecting the HDMI output of the Switch to the HDMI input of the laptop. The audio output of the Switch can also be connected to the audio input of the laptop if desired.
Doing this will allow you to play your Nintendo Switch games on your laptop’s screen. There are a few things to keep in mind, however. First, not all laptops have HDMI inputs.
Second, even if your laptop does have an HDMI input, it may not support video input from devices like the Nintendo Switch. Third, even if your laptop does support video input from external devices, there may be some lag between what is happening on the Switch and what is being displayed on your laptop’s screen.
Fourth, battery life will likely be shorter when using your laptop as a monitor for the Nintendo Switch since more power is required to drive both the internal display and external display simultaneously.
Overall, using a laptop as a monitor for the Nintendo Switch is possible but there are some potential drawbacks that should be considered before doing so.
Credit: pcbuildinglab.com
How to Connect Nintendo Switch to Laptop With Hdmi
Assuming you would like a blog post discussing how to connect a Nintendo Switch to a laptop using an HDMI cable: “How to Connect Nintendo Switch to Laptop With Hdmi” By now, most people are aware that the Nintendo Switch can be docked in order to play games on your television.
However, did you know that you can also connect the Switch directly to your laptop or PC? Doing so allows you to play your favorite games right on your computer screen, which can be really handy if you don’t have a TV available. Plus, it’s great for when you want to take your gaming on the go and don’t want to lug around the dock and all of its accessories.
Here’s how to do it: First, make sure that both your laptop and Switch are powered off. Then, use an HDMI cable to connect the two devices – just plug one end into each device.
Once they’re connected, power on your laptop first, followed by the Switch itself. You should see the Switch’s home screen appear on your laptop’s display after a few moments. If not, check that the HDMI cable is properly plugged in at both ends and try again.
Now it’s time to start playing! Any game that supports handheld mode will work just fine when played through your laptop’s display. And since there’s no need for the dock (or its AC adapter), feel free to take this setup with you wherever you go.
Just remember to bring along an extra HDMI cable in case you need it – they’re not exactly known for their durability!
Conclusion
The Nintendo Switch is a great console for gaming on the go, but what if you want to connect it to your laptop for a bigger screen? You can do this without a capture card by following these simple steps. First, make sure your Switch is in TV mode and connected to the dock.
Then, open up the system settings from the main menu and scroll down to find the “connected devices” option. Select this and then choose “USB 2.0 port” from the list of choices. Now, take an HDMI cable and plug one end into the back of the dock.
The other end will go into your laptop’s HDMI port. Once everything is plugged in, boot up your computer and head over to the display settings. Here, you should see an option for “Multiple displays” – select this and then choose “Duplicate these displays”.
That’s it! Your Switch will now be displayed on your laptop screen. You can use this setup to play games, browse the internet, or watch videos on a larger screen.
Keep in mind that any external audio will need to be routed through your computer speakers since there is no audio output on the Switch itself.
