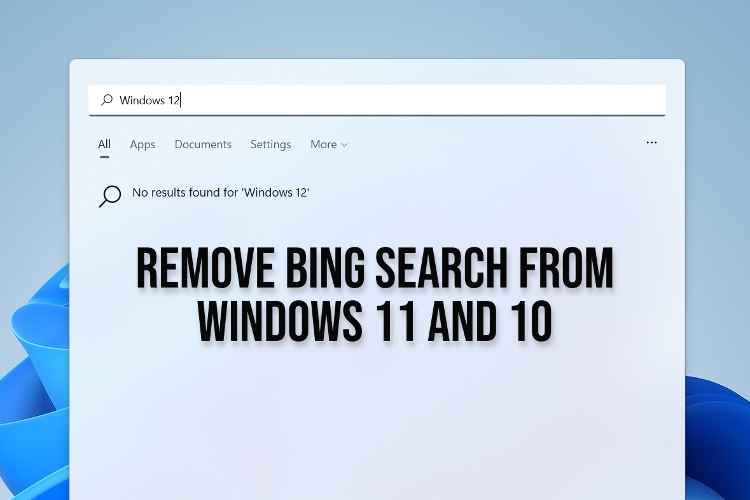
To remove Bing Search from Windows 11, go to the search bar and click on “Settings,” then “Apps.” From there, find Bing and uninstall it.
Windows 11 comes pre-installed with Bing as the default search engine, which some users may find inconvenient. Fortunately, removing Bing from your Windows 11 device is a straightforward process. All you need to do is go to the search bar, click on “Settings,” then “Apps.
” From there, locate Bing and uninstall it. We’ll guide you through step-by-step instructions on how to remove Bing Search from Windows 11 and set up a new default search engine.

Credit: www.youtube.com
Credit: beebom.com
Frequently Asked Questions Of How To Remove Bing Search From Windows 11
How Do I Stop Bing From Searching In Windows 11?
Disable Bing’s search integration in Windows 11 by going to Settings, Search, and then unchecking the “Get search suggestions and web results from Bing” option. This will prevent Bing from appearing in search results.
How Do I Permanently Remove Bing From My Computer?
To permanently remove Bing from your computer, go to your browser settings and navigate to the search engine options. Choose a different search engine as your default, and ensure that Bing is removed from the list of search engines. You can also uninstall Bing Bar or any other Bing-related software via the Control Panel.
How Do I Stop Bing From Hijacking My Browser?
To stop Bing from hijacking your browser, go to the browser’s settings and remove or disable Bing as the default search engine. Some browser extensions or programs may also cause this issue, so check for any unwanted or unfamiliar software on your device and remove them.
Clearing your browser’s cache and history can also help.
How Do I Change From Bing To Google On Windows 11?
To change from Bing to Google on Windows 11, follow these steps: 1. Open the Microsoft Edge browser 2. Go to Google’s website 3. Click on the three dots in the upper right corner of the browser 4. Select “Settings” 5.
Scroll down and click on “Advanced Settings” 6. Under “Search in address bar with,” select “Google. “
Conclusion
Removing Bing Search from Windows 11 is a simple process that can save you from annoying search results. Whether you decide to switch to another search engine or use Windows Search, the choice is yours. Follow the instructions we provided, and you’ll be Bing-free in no time.
By customizing your PC’s settings, you can enhance your browsing experience and make it more efficient. So get started and enjoy hassle-free searching on your Windows 11!